
This post is all about how to print and assemble pdf patterns from Love Notions. One of the most common questions we get at Love Notions Sewing Patterns is something along the lines of: “Help! I’ve bought a digital pattern. Now what?!” If you are a newbie to sewing, or just a newbie to sewing with PDF patterns, this post will demystify the downloading and assembly process and help you get to the fun part — the sewing!
If you prefer a video, these instructions can be found on our youtube account here:

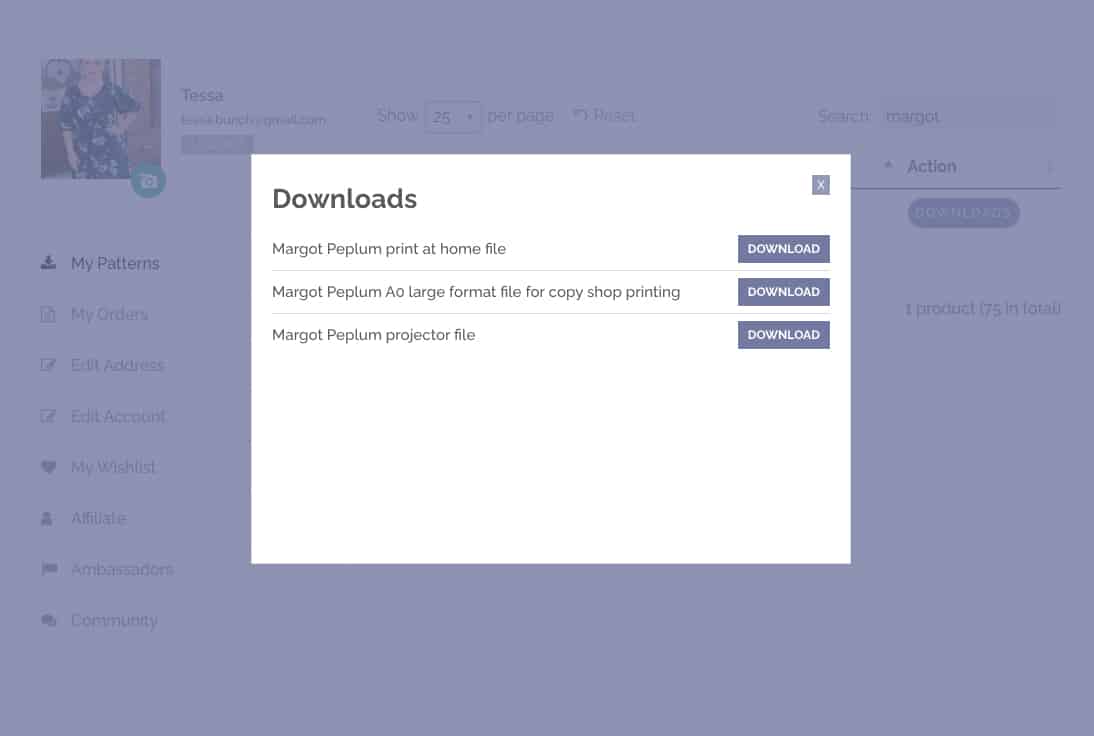
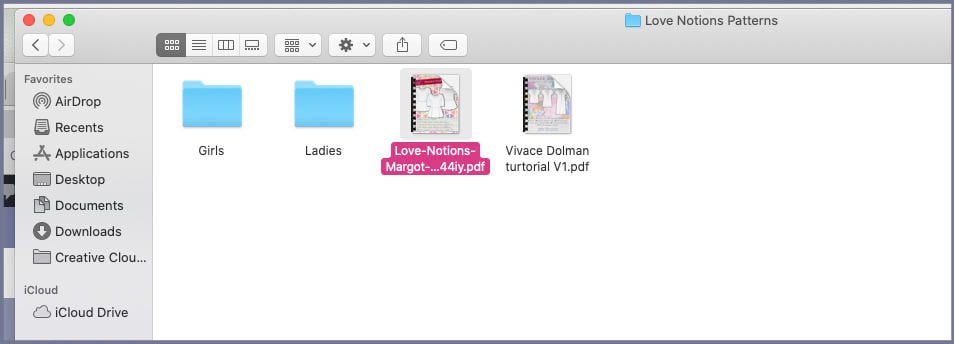
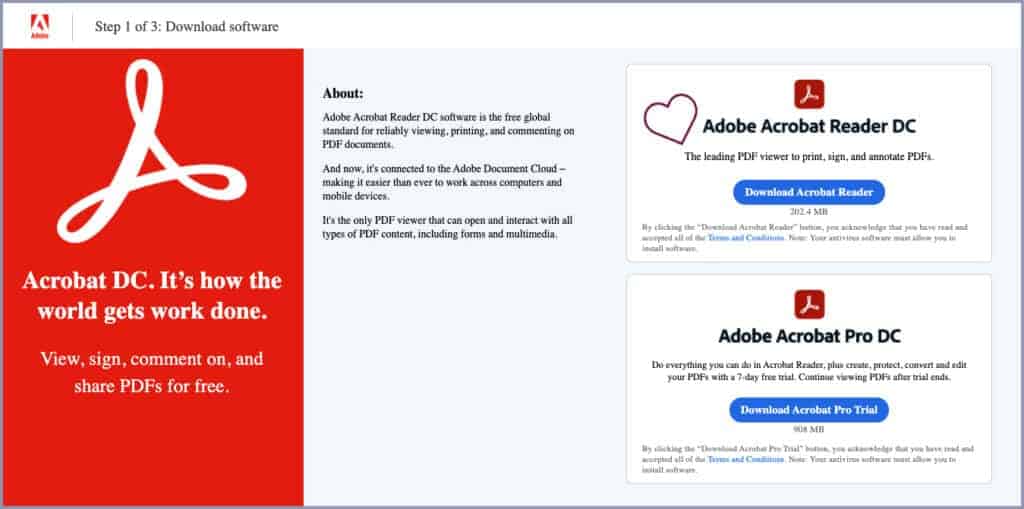
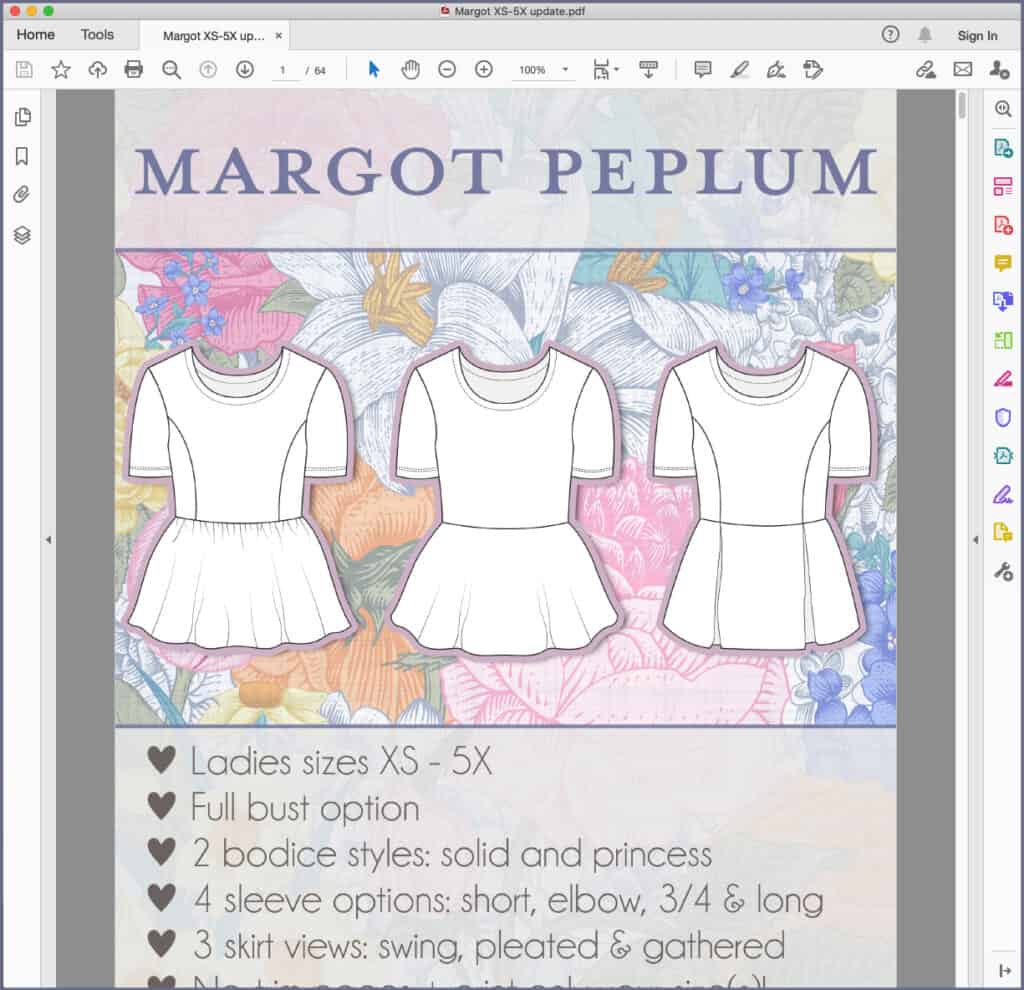
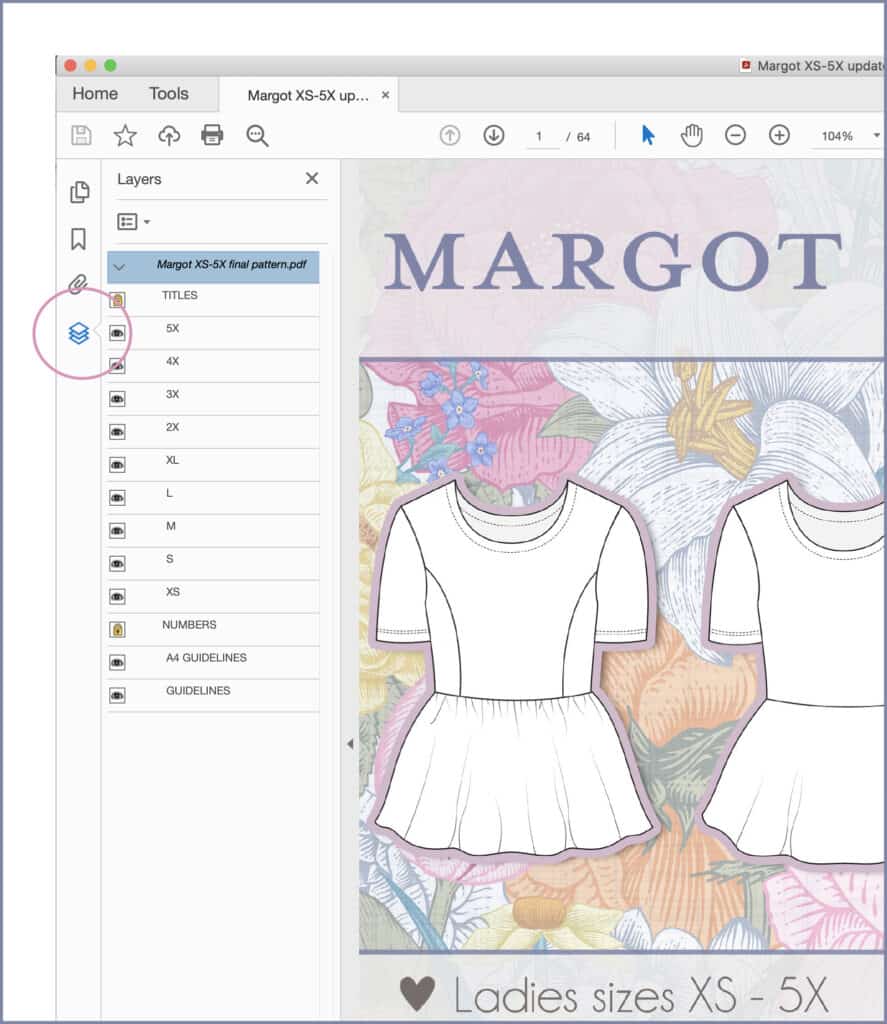
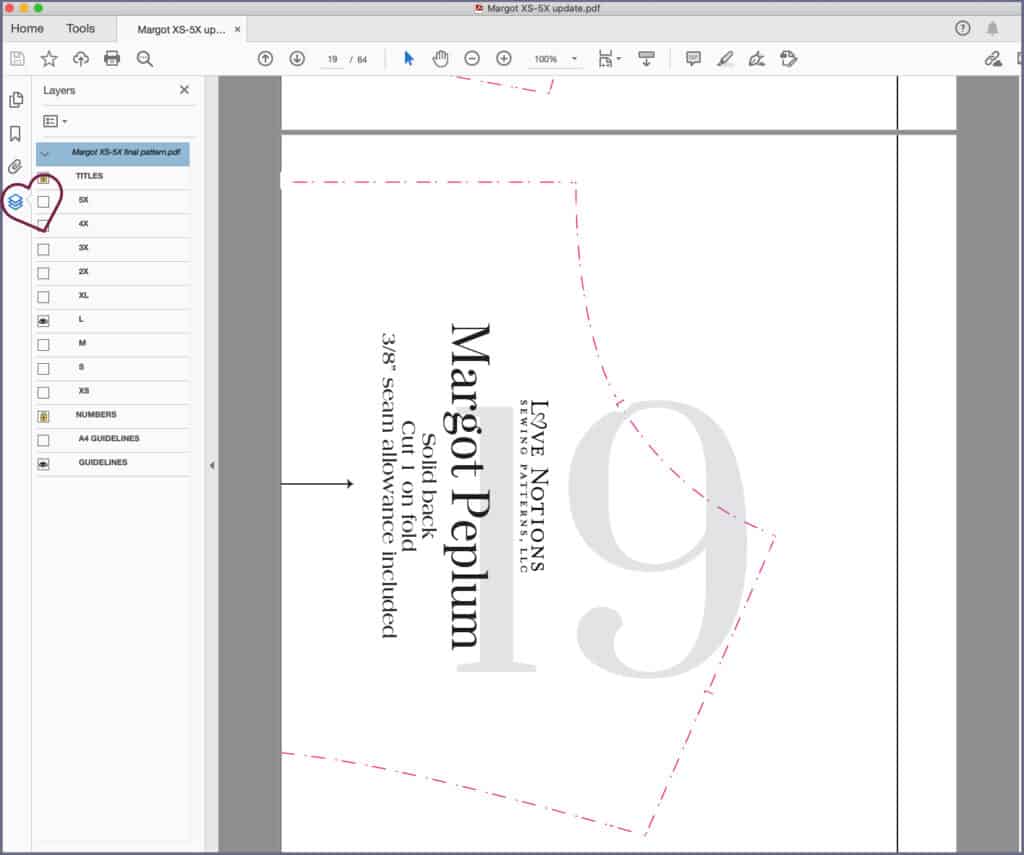
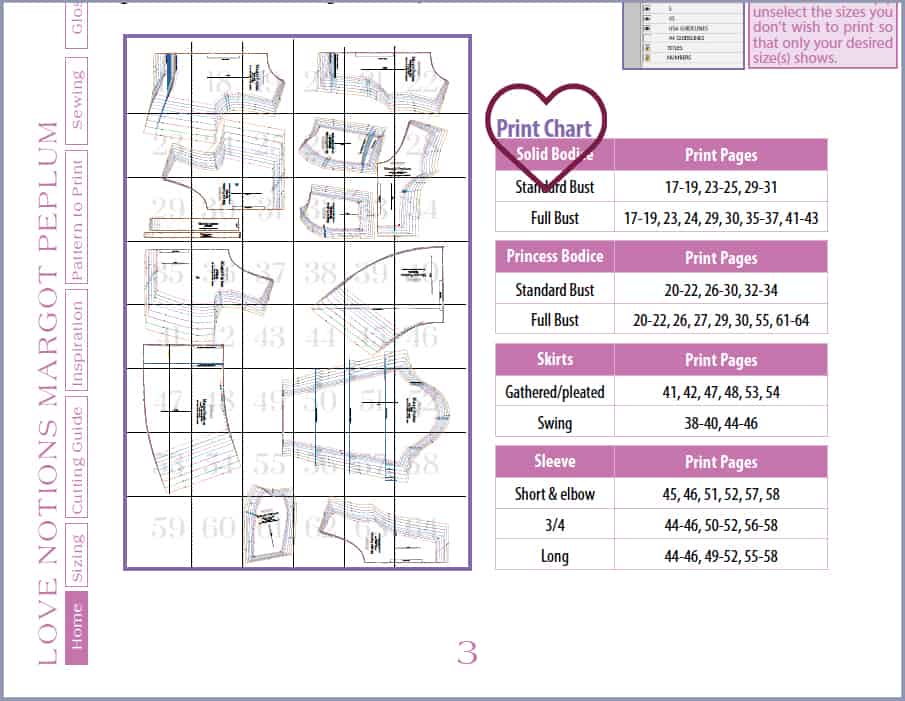
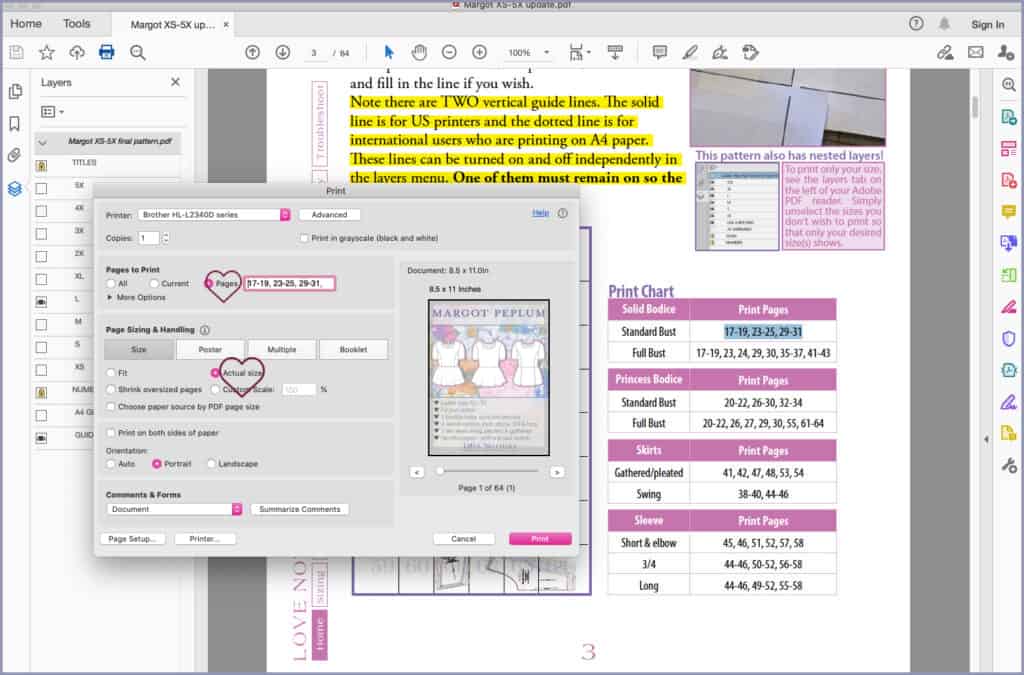
Now comes the fun part! At this point you’ve successfully printed your PDF patterns, but they need to be attached together to make the full pattern pieces that you can cut out and use with your fabric. I highly suggest watching this pattern assembly video for those who like to visualize — but here is the step-by-step process for those who prefer written directions.
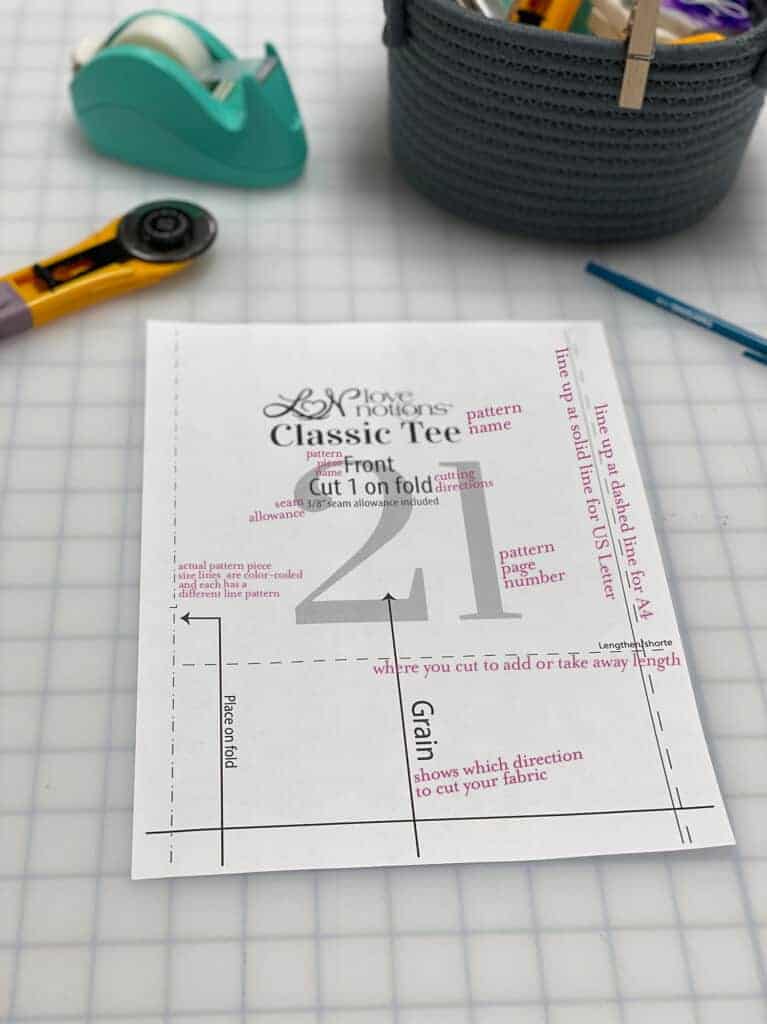
Place the first pattern piece down on a wide open space. You’ll see that the page has the pattern piece lines, label, pattern markings, etc. Each page also has a number in the center that is kind of faded that indicates which page of the pattern it is. Remember, the print chart and pattern layout guide are super helpful for understanding which pattern page goes where.

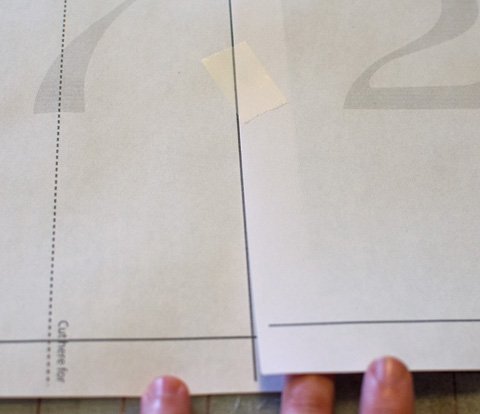
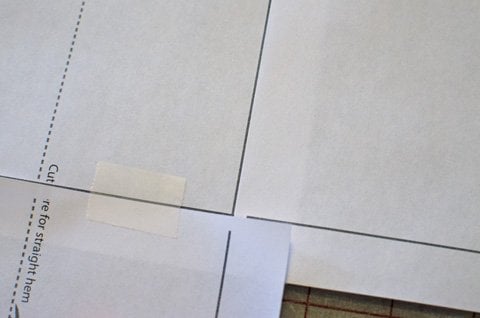
Now that we know what we are looking at, we can assemble. Grab some tape (we prefer tape, but others like gluesticks). Lay out the first printed pattern piece (usually number 17 or so) and then lay the next page on top, butting the left edge up to the guideline but not covering the guideline. Continue on for that row. For the second row, lay the first page in the row (for the Classic Tee, it’s page 23 as you can see in the chart above) on top of the bottom of that very first page, again right up to but not over the line. Continue on that row as you did row 1. You will notice there is a small piece of line that won’t print due to the printer margins. Just cut like normal and fill in the line if you wish.
Every pattern has a 1 inch square that you can measure to check that your pattern printed at the correct scale. This “test square” is usually on one of the first pattern pages of the pattern. If you have had trouble with getting accurately printed patterns before, try printing just the page that has the test square first before printing the rest of the pattern. Then you’ll know if you are on the right track. 🙂
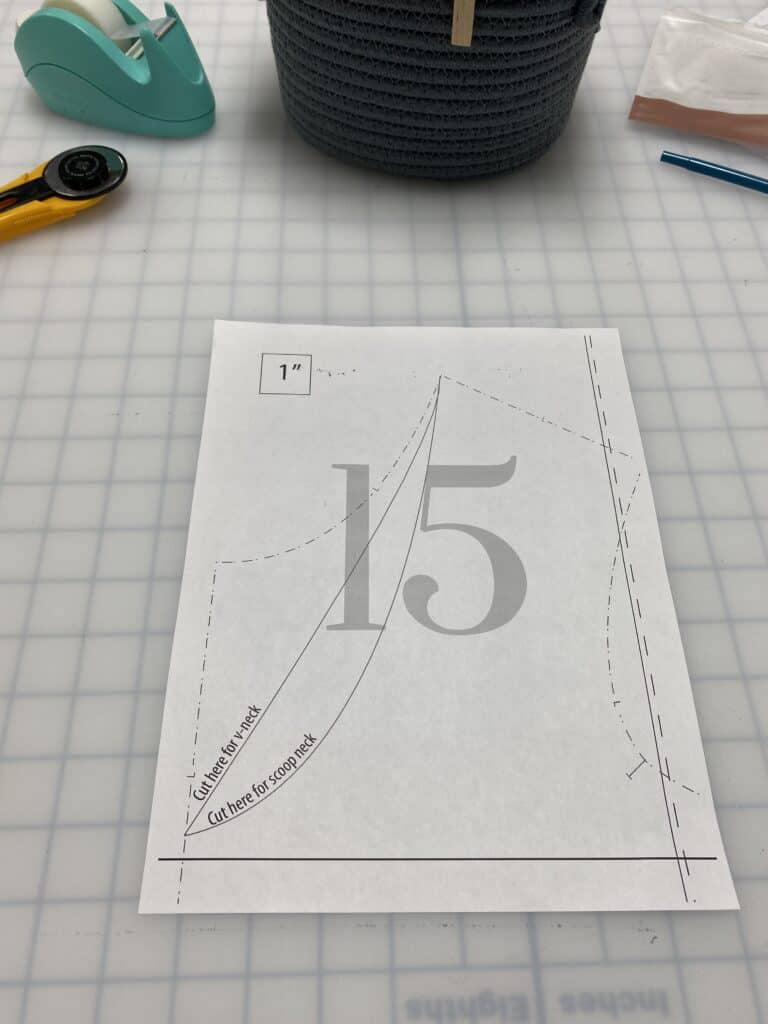
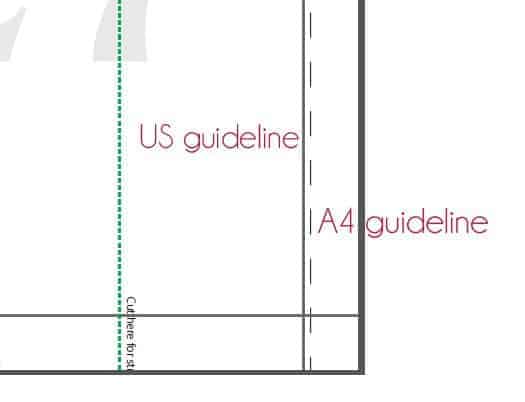
Love Notions patterns can be printed and assembled with A4 paper too! However, there is a small change in the way they are assembled versus the US Letter size. First of all, A4 printing paper is almost the same size as US Letter — A4 is just slightly taller and US letter is slightly wider.
When printing layers and assembling, instead of butting the pages up to the solid vertical lines, you’ll need to make sure you use the A4 guidelines which are the dashed lines that go up the height of the page. Another key difference with A4 paper is a solid line prints 1/4″ from the top of A4 paper. You can either trim off this small section or just overlap as usual. It is easier to see the pattern lines if you do trim that section.
Your pattern is now assembled and ready to cut out. If you have any questions or need further help we are only an email away. Feel free to post in the Facebook group for help or email help@.com.
[carousel_slide > Sign up to receive weekly emails delivered right to your inbox, stuffed with news, sales, pattern releases and more.